You plug in your Time Machine disk and your Mac asks out of the blue a question you did not expect: would you like your Mac to inherit the backup history on the disk, or start a new backup?
Why did Time Machine ask this question? And how come it has never asked this question before? Time Machine uses a unique ID (UUID) that is specific to the disk in your Mac to associate it with its backup. In general, the stubborness of Time Machine is meant to prevent data loss in cases such as when a different disk with the same name is attached to your Mac. Thanks to the different UUID, Time Machine detects that this is in fact not the same physical disk and will not add a new snapshot to the backup history of your own volume.
Nonetheless, there are a few cases, where this is exactly what we want.
You might also have made the painful experience that Time Machine silently started a new backup history when you expected it to continue the one it had been working on for years.
Apple has documented the most popular situations; please refer to the support article corresponding to your version of macOS:
- macOS 10.13 High Sierra
- macOS 10.14 Mojave
- macOS 10.15 Catalina
- macOS 11.0 Big Sur
- macOS 12 Monterey
- macOS 13 Ventura
If these articles do not answer your question or you would like to understand in more detail, how Time Machine associates disks with a Mac and how it decides, when it asks you if you want to inherit the backup history, read on.
A typical example
Let’s say the hard drive of your clunky old MacBook is called Macintosh HD the MacBook is called John Doe's MacBook, and it is backed up to an external disk called Time Machine Disk. In this case, the backing store (Machine Store in tmutil lingo) of your MacBook is at /Volumes/Time Machine Disk/Backups.backupdb/John Doe's MacBook and the latest backup of Macintosh HD is at /Volumes/Time Machine Disk/Backups.backupdb/John Doe's MacBook/Latest/Macintosh HD.
Now you migrate to a blazing fast new SSD, but for sake of simplicity, you still call it Macintosh HD because you erase and sell your old hard disk.
After the migration, Time Machine thinks that you have a completely new disk and will start a fresh backup. In the process, it will likely erase almost all of your existing backups to make space.
That’s certainly not what you want. You would like Time Machine to simply inherit the existing backups in order to be able to browse those old backups in the future and possibly restore some files. Moreover, instead of creating an entirely new full backup from your admittedly brand new disk, future backups should just be added as incremental backups to the existing backup history.
Manual mode: tmutil
To accomplish the above feat, running a single command with tmutil is sufficient.
In versions of macOS before the now ancient OS X 10.7 Lion, when people exchanged their disk or migrated to a different Mac, this feature has made it difficult to get Time Machine to continue adding to the backup history of the previously used disk. Since OS X Lion, there is a nifty Terminal command called tmutil, which provides complete control over the situation.
The most popular use case will be when you migrate your data to a new volume, either on the same disk or a different disk, or a new logic board or a different machine, and you know that you will not be taking any more backups of the previous volume.
In those cases, it can be desirable to associate the new volume with your backup history.
Using tmutil to associate an existing Time Machine backup with your new computer or disk
Note
The following command permanently manipulates the association of your Time Machine disk. Use it only once you understand what this means. You proceed at your own risk.
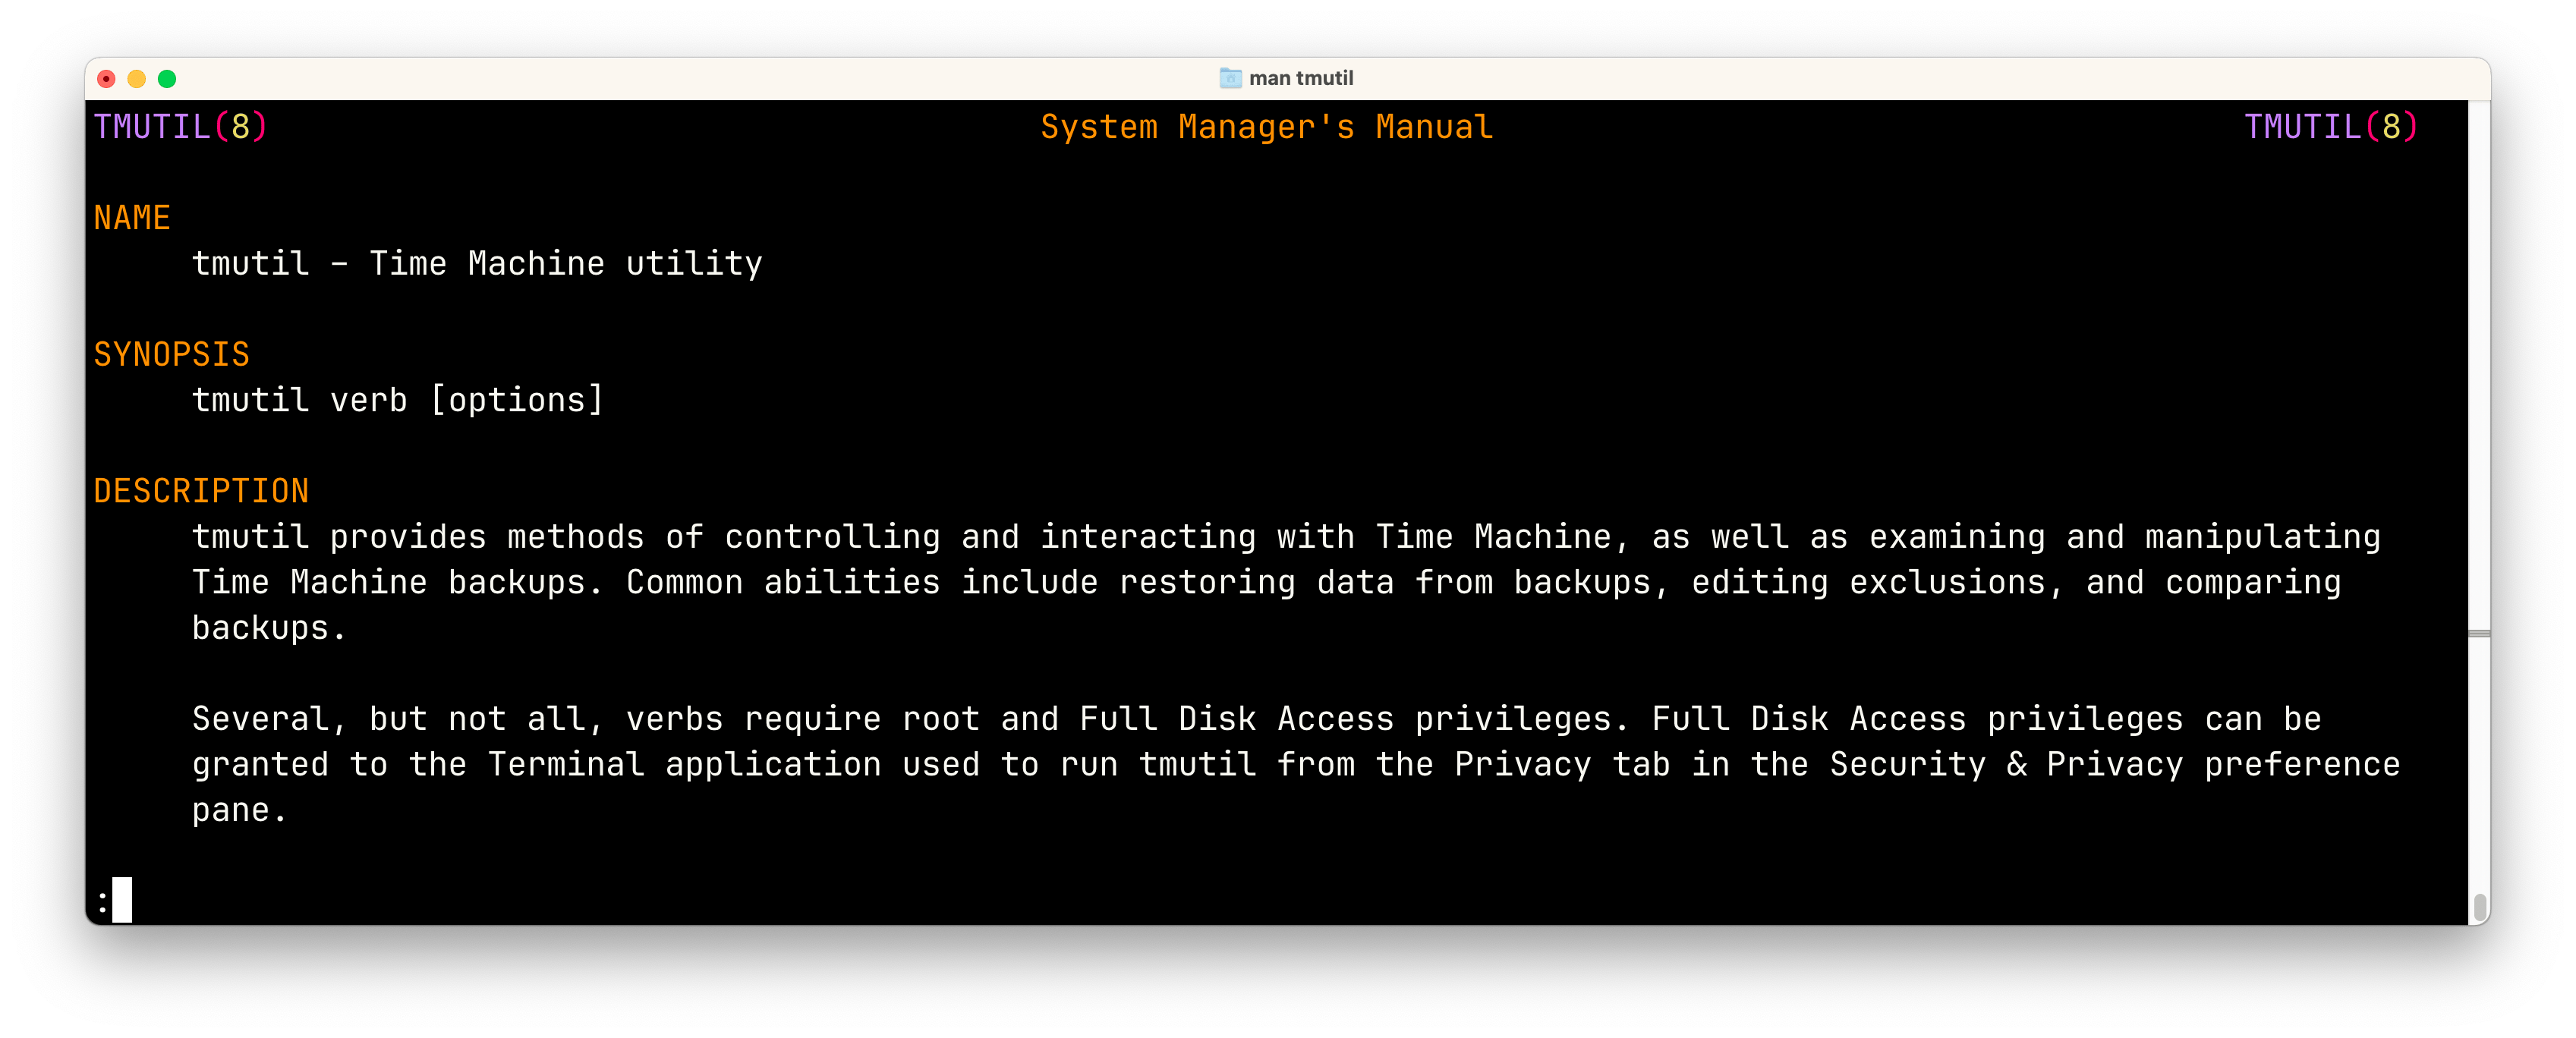
Please make sure you understand what this does and read the man page of tmutil (run man tmutil in Terminal).
Here is the description of the verb associatedisk, which we will use for this purpose:
Note that the notation [-a] in the man page indicates that -a is an optional parameter: The -a option tells associatedisk to find all snapshot volumes in the same machine directory that match the identity of snapshot_volume, and then perform the association on all of them. This means either of the following are correct, depending on your needs.
Associate all snapshots (what you normally want)
In general, you want to associate the entire backup history from a previous computer or disk with your new one. This is accomplished with the following command. Note that we add -a immediately after the verb associatedisk:
Only associate a single snapshot
In case you only want to access a single backup from a specific snapshot, for example the most recent one, you can run tmutil associatedisk without the -a option.
You will probably be prompted to enter a password. Type you regular macOS administrator password you use to log in to your computer. The characters you type won’t be displayed, that’s to be expected.
Expected result
Again quoting from the man page: